📖 Introduction
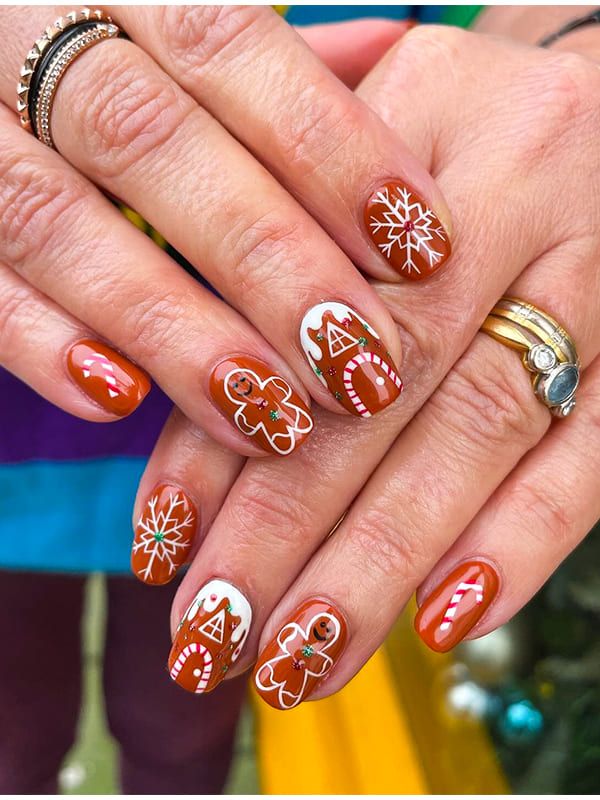
Gingerbread nails are one of the cutest trends for the holiday season. They bring together warm brown tones, sweet icing details, and tiny candy-inspired accents. But to make your gingerbread designs neat and professional-looking, the right nail brushes are essential.
In this guide, you’ll learn how to use nail brushes for gingerbread designs step by step. We’ll cover brush types, techniques, simple tips, and tools that make the process easier. Whether you’re a beginner or improving your nail art skills, this article will help you master holiday nails with confidence.
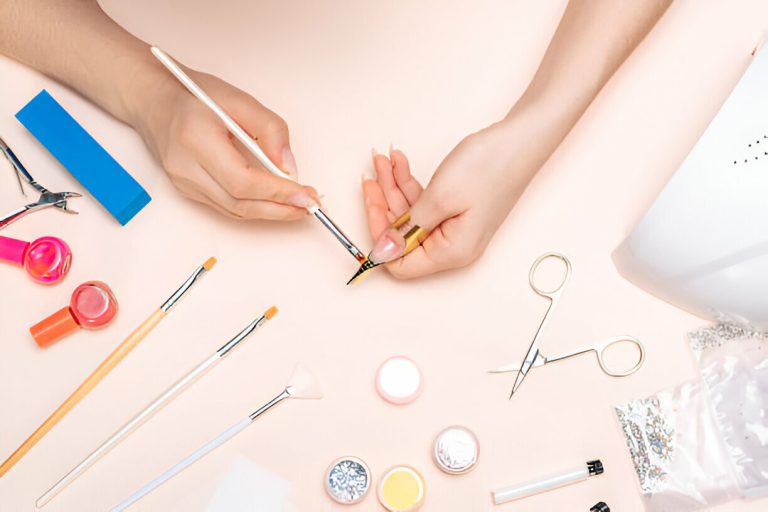
🖌️ Types of Nail Brushes for Gingerbread Designs
| Brush Type | Best For | Example Use in Gingerbread Nails | Shop Now |
|---|---|---|---|
| Liner Brush | Thin lines, fine details | Outlining the gingerbread shape, adding icing details | Shop Now |
| Flat Brush | Filling areas | Coloring the base gingerbread shade | Shop Now |
| Detail Brush | Tiny accents | Drawing candy dots, buttons, and smiley faces | Shop Now |
| Dotting Tool (optional) | Perfect dots | Making gumdrop decorations or eyes | Shop Now |
| Fan Brush | Background effects | Adding sparkle or glitter background | Shop Now |
✨ Step-by-Step Guide: How to Use Nail Brushes for Gingerbread Designs
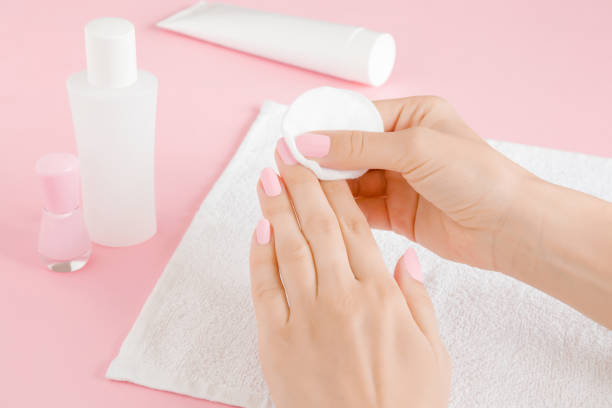
1. Prep Your Nails
- Clean your nails and remove old polish.
- Apply a base coat to protect the nail surface.
- Choose a warm gingerbread-brown polish as the base color.
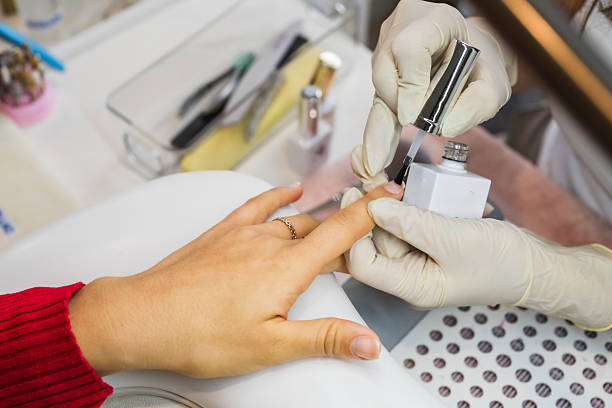
2. Apply the Base Color with a Flat Brush
Use a flat brush for smooth application. Two coats of brown polish will give a rich gingerbread look. Let it dry completely before moving to the next step.
3. Draw the Gingerbread Shape with a Liner Brush
Dip your liner brush into white polish. Outline wavy lines across the tips (like icing on cookies). Keep your hand steady for neat edges.
4. Add Icing and Details with a Detail Brush
Use a detail brush to add zig-zag icing on the gingerbread body. Draw little dots for candy buttons. Create small smiley faces for a fun look.
5. Use a Dotting Tool for Decorations
Dip the tool in red, green, or yellow polish. Add candy-like dots for buttons, gumdrops, or sprinkles.
6. Seal the Design
Once everything dries, apply a clear top coat. This will protect your gingerbread design and give it a glossy finish.
🎨 Tips for Perfect Gingerbread Nail Art
- Practice on paper first – Test your brush strokes before painting on nails.
- Keep brushes clean – Use acetone or brush cleaner after each color.
- Work in layers – Let each layer dry before adding details.
- Use thin strokes – It’s easier to add more polish than fix a thick mistake.
- Experiment with colors – Add pastel candy shades for a playful look.
📊 Tools You May Need
| Tool | Purpose |
|---|---|
| Nail Art Brushes | Main tool for gingerbread designs |
| Nail Polish Remover | Cleaning brushes and fixing mistakes |
| Dotting Tools | For perfect candy dots |
| Palette/Tray | Mixing colors before applying |
| Top Coat | Sealing and protecting your art |
❓ FAQs
Q1. Can I use regular paint brushes for nail art?
It’s better to use nail-specific brushes because they are finer and designed for detailed work.
Q2. Do I need gel polish for gingerbread nails?
No, you can use regular polish. Gel polish lasts longer but needs curing under a lamp.
Q3. How do I stop my design from smudging?
Wait until your polish is fully dry before adding the top coat. Apply it gently without pressing too hard.
Q4. Which colors work best for gingerbread nails?
Classic brown, white, red, and green. You can also add gold or glitter for a festive vibe.
Q5. How long do gingerbread nails last?
With a good top coat, they can last 7–10 days depending on your daily activities.
✅ Conclusion
Using nail brushes for gingerbread designs makes your holiday nails neat, detailed, and festive. By choosing the right brushes, practicing simple techniques, and adding playful decorations, you can create nails that look like tiny holiday cookies.
Whether you’re preparing for Christmas parties or just want to enjoy cozy winter vibes, gingerbread nails are a creative way to celebrate. With a little patience and the right tools, anyone can achieve this sweet nail art at home.

