
✨ Introduction:
Nail art is fun—especially during the holiday season. If you’re planning to wear gingerbread nail art, proper nail prep is essential. It makes your designs last longer, look cleaner, and protect your natural nails. Whether you’re doing your nails at home or visiting a salon, this simple prep routine will help your gingerbread look shine bright.
Let’s go step-by-step to build the best nail prep routine for a long-lasting holiday manicure.
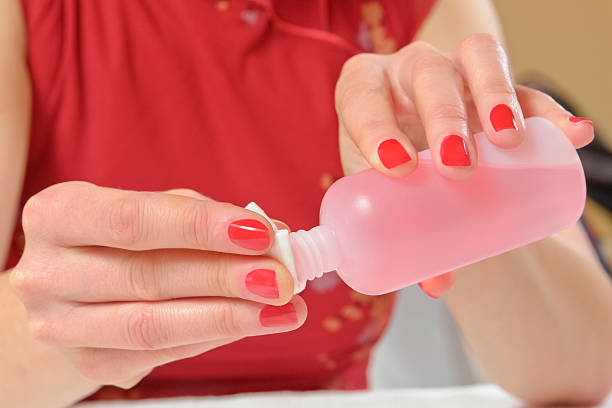
🧼 Step 1: Clean Your Nails Thoroughly
Your nails must be clean and free from oils before applying polish or designs. Here’s what to do:
🧴 What You’ll Need:
- Nail polish remover (non-acetone if possible)
- Cotton pads
- Gentle soap
- Warm water
🪄 How to Clean:
- Use nail polish remover to clear old polish.
- Wash your hands with warm water and gentle soap.
- Dry thoroughly using a clean towel.
✂️ Step 2: Shape and File Your Nails
Well-shaped nails are key to a polished look. Use a nail file—not clippers—for better control.
| Shape | Best For |
|---|---|
| Square | Bold gingerbread looks |
| Round | Softer designs |
| Almond | Elegant long nails |
Tip: Always file in one direction to avoid nail splitting.

✨ Step 3: Gently Buff the Nail Surface
Buffing smooths the nail and helps polish stick better.
✅ Why It Matters:
- Removes shine
- Improves adhesion
- Preps for base coat
Don’t over-buff! A few gentle swipes are enough.

💧 Step 4: Moisturize Your Cuticles (But Wisely)
Hydrated cuticles prevent cracks and improve the look of your nail art.
🧴 Use:
- Cuticle oil
- Hand cream
Important: If you’re applying polish right after, wash your hands again to remove any oils that might prevent polish from sticking.

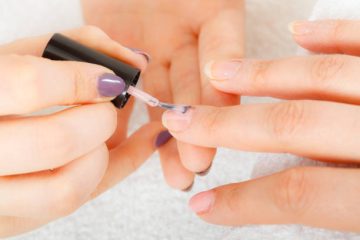
🛡️ Step 5: Apply a Strong Base Coat
The base coat is the most important part before gingerbread art.
| Base Coat Type | Benefit |
|---|---|
| Strengthening | For weak/brittle nails |
| Ridge-filling | For uneven surfaces |
| Peel-off | For temporary designs |
Tip: Let it dry completely before adding any polish or nail stickers.

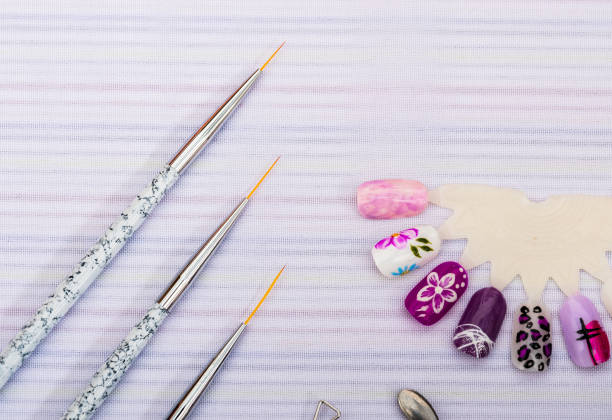
🍬 Step 6: Use a Nail Guide (Optional but Helpful)
For gingerbread shapes or fine details, use:
- Nail stencils
- Striping tape
- Dotting tools
These make your designs neater and more even—especially if you’re a beginner.
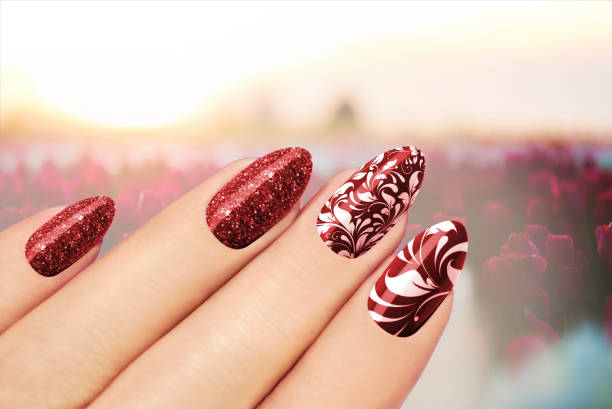
🎨 Step 7: Apply Gingerbread Nail Art Carefully
Once your prep is complete, now comes the fun part—gingerbread designs!
Choose From:
- Gingerbread men
- Candy canes
- Snowflakes
- Chocolate brown & beige combos
Always allow each layer to dry before the next one.


💎 Step 8: Seal with a Top Coat
This seals your design and keeps it from chipping.
🔄 Reapply every 2–3 days for:
- Longer-lasting color
- High shine
- Extra protection
💡 Bonus Tips for Long-Lasting Gingerbread Nail Art
- Wear gloves while doing dishes.
- Avoid hand sanitizers with alcohol.
- Use cuticle oil daily.
- Don’t peel off your polish—remove it properly.
❓ Frequently Asked Questions
1. How long should I wait between base coat and polish?
Wait at least 1–2 minutes or until the base coat is fully dry.
2. Can I skip buffing my nails?
You can, but your polish may not last as long without it.
3. What is the best base coat for holiday nail art?
Look for strengthening base coats that protect from polish staining.
4. How often should I moisturize my nails?
Daily use of cuticle oil and hand cream is ideal, especially in cold weather.
5. How do I remove nail art without damaging my nails?
Use a non-acetone remover and soak a cotton pad, then wrap your nails in foil for 10–15 minutes before gently removing.
🧾 Conclusion
Prepping your nails before applying gingerbread nail art isn’t just a step—it’s the secret to a flawless and long-lasting design. From cleansing to moisturizing and sealing with the perfect top coat, each part plays a role in keeping your holiday nails festive and fabulous.
Taking 15–20 minutes for proper nail prep can help your nail art last for days (or even weeks) and keep your natural nails healthy underneath.